
Label Studio (Smart Workflow)
General
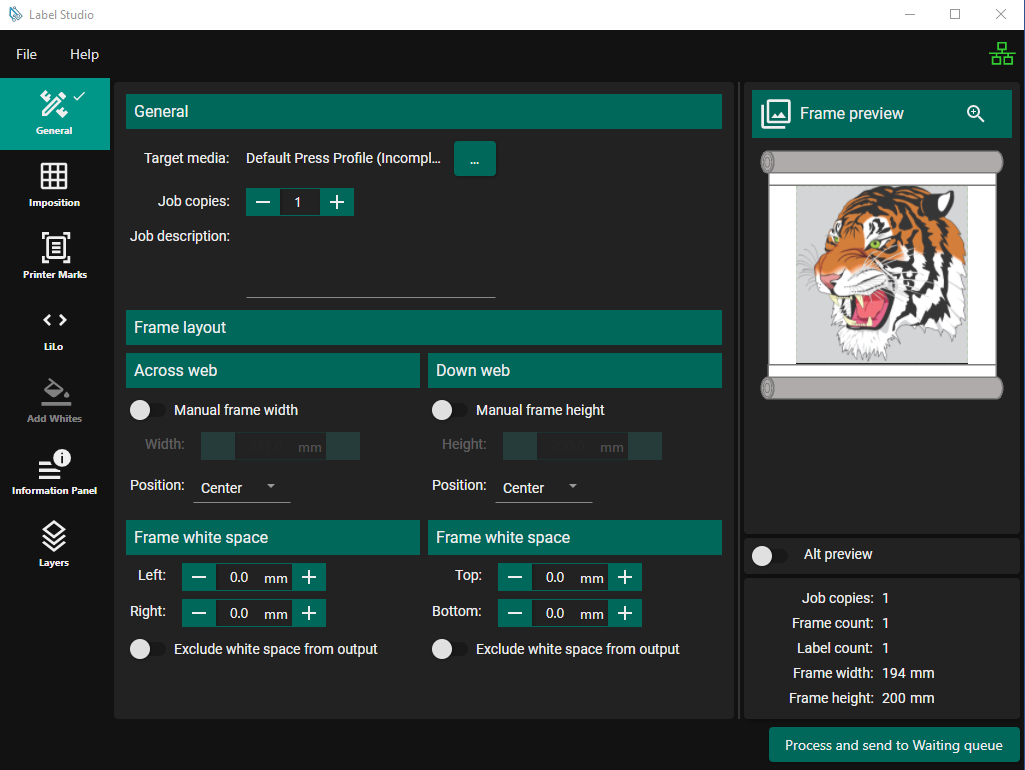
The General Pane have basic Job settings and Frame Layout settings. The General Pane is the one pane that is always enabled.
Job Settings
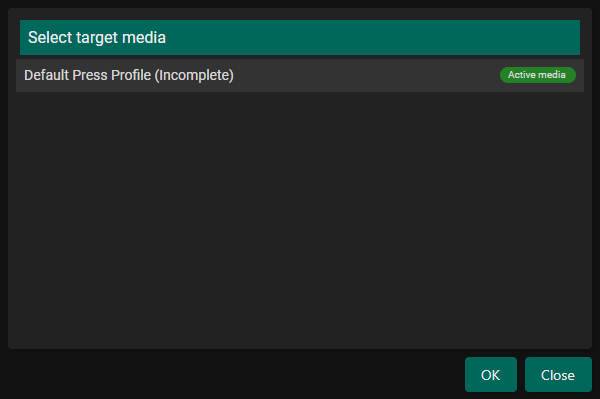
The Target Media can be set via the adjacent button which will open the Select target media dialog. Here you will see a view of the media in SPC at the time of opening the dialog with an indication of which media is Active. The media selected will be the target media of the output job and the media width is used as the maximum width the frame can be.
The Job Copies will not change the pdf directly but sets the copies property on the output job.
The Job Description is to be filled in by the user to desribe the actions performed by the studio file, this helps provide additional identification for loaded studio files.
Frame Layout
The Frame Layout settings allow for setting the dimensions of the Frame and the position of the contents on the Frame.
Across & Down Web
By default the Frame dimensions are calculated automatically based on all the options selected so that the contents fits on the page.
The Frame dimensions can also be set manually with the frame width default to the media width and the frame height defaults to the source job’s height.
The postion of the contents on the frame can set with the horizontal and vertical alignment.
Frame White Space
White space can be added around the contents of the frame.
By default the white space will be visible in the output but there’s an setting that will make it so in the output job the white space isn’t visible but will be in the printed output. This can be set for the white space across web and down web separately.
Imposition
Step and repeat
VDP
Printer Marks
Corner Marks
Side Marks
LiLo (Lead In/LeadOut)
Enable: Activates the LiLo feature.
When enabled, at least one of Lead In or Lead Out must also be enabled
Both Lead In and Lead Out pages are based on the first frame of the job.
If Lead In or Lead Out is disabled, a single blank page will be printed in its place.
Lead In
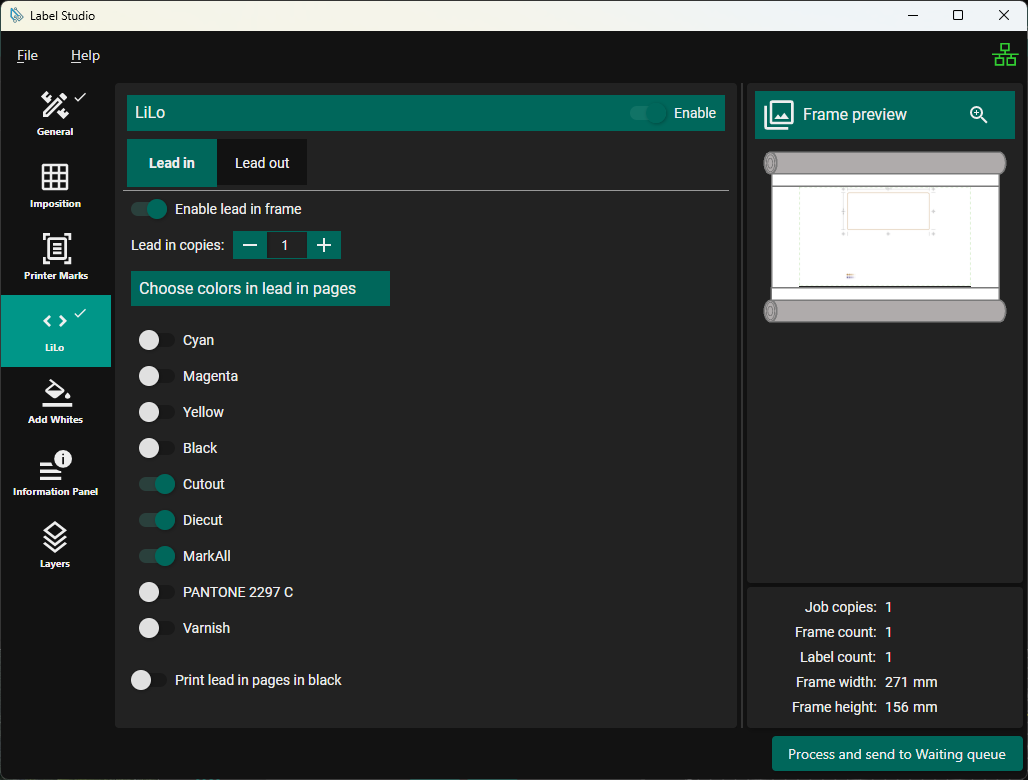
Enable lead in frame: Adds a Lead In page to the beginning of the job, based on the first frame.
If disabled, a single blank Lead In page is printed instead.
Lead in copies: Sets the number of Lead In pages to be printed.
Choose colors in lead in pages:
Select which job colors are included on the Lead In page.
Defaults: All colors are enabled (included) by default.
Note: All spot colors are converted to process color.
Print lead in pages in black: Print the Lead In page with the chosen colors in black only.
Lead Out
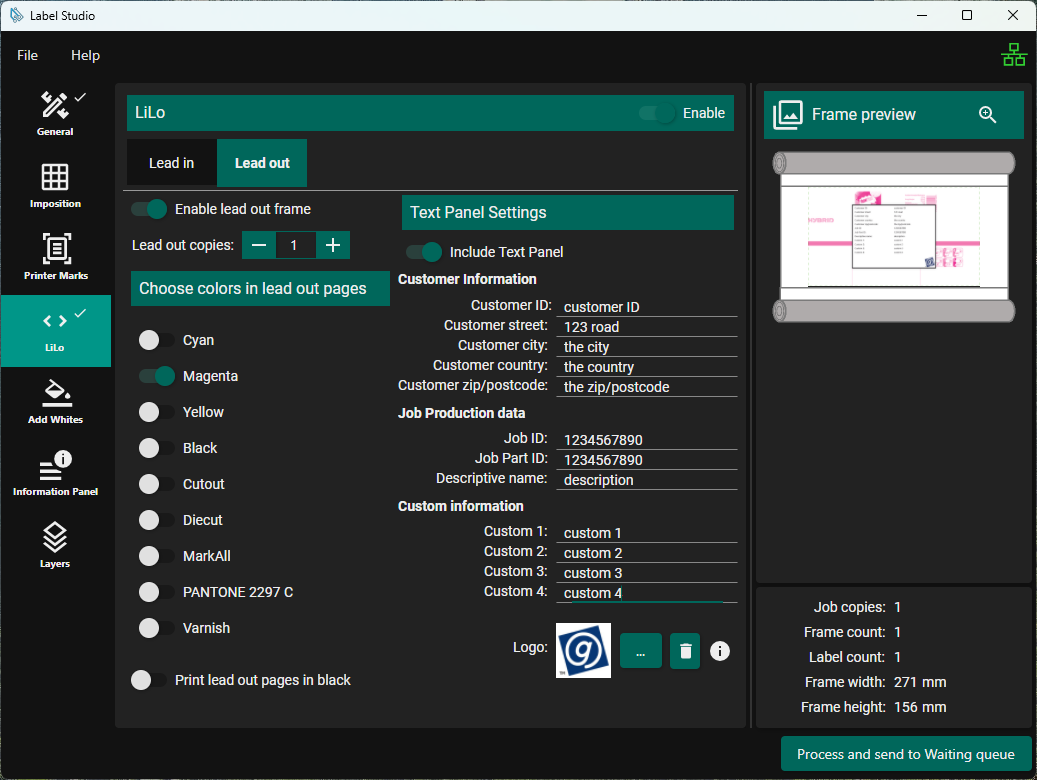
Enable lead out frame: Adds a Lead Out page to the end of the job, based on the first frame.
If disabled, a single blank Lead Out page is printed instead.
Lead out copies: Sets the number of Lead Out pages to be printed.
Choose colors in lead out pages:
Select which job colors are included on the Lead Out page.
Defaults: All colors are disabled (excluded) by default.
Note: All spot colors (e.g., Pantone) are converted to process color.
Print lead out pages in black: Print the Lead Out page with the chosen colors in black only.
Text Panel Settings:
Include Text Panel: Option to overlay a text panel in the centre of the Lead Out page.
The panel can contain:
Customer Information: Customer ID, Street, City, Country, Zip/Postcode (each field up to 32 characters)
Job Production Data: Job ID, Part ID, Descriptive Name (each field up to 32 characters)
Custom Information: Up to 4 user-defined fields (each field up to 32 characters)
Logo: Optional image with a maximum size of 75 × 75 pixels
The image may be scaled, which can affect its aspect ratio.
Note: The field values are shared between Lead Out and Information Panel.
Add Whites
Information Panel
Enable: When enabled, generates an additional job with the same name as the main job, prefixed with IP-.
Exactly one copy of the Information Panel job is generated.
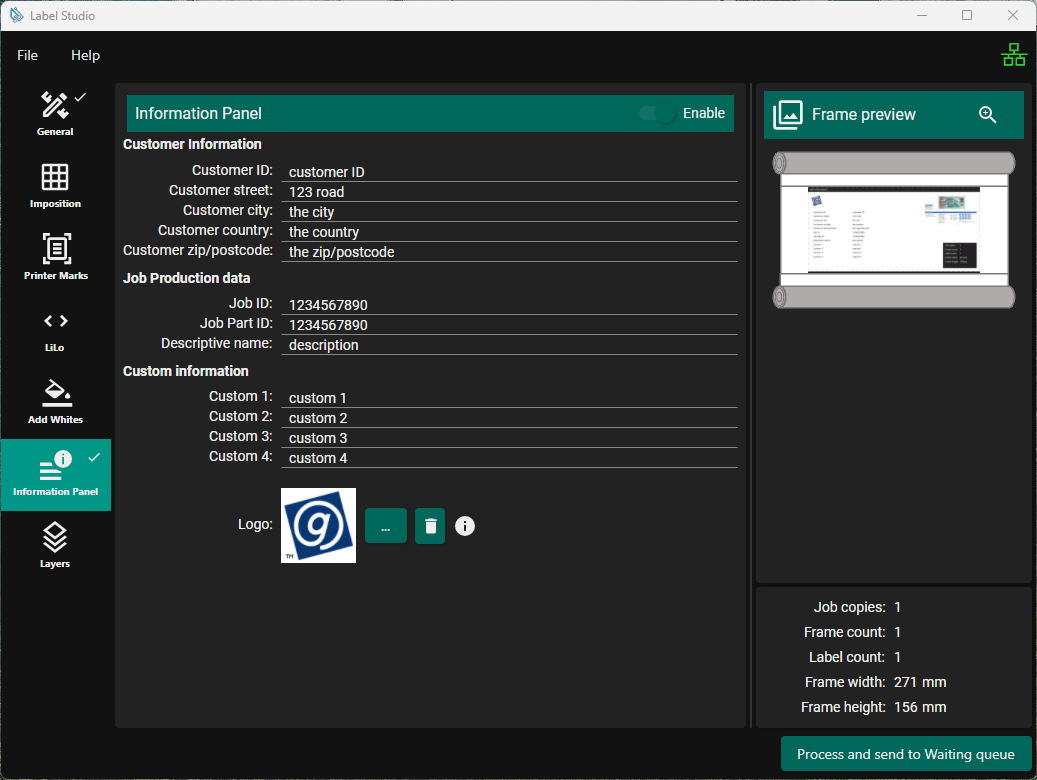
The Information Panel job consists of two pages:
Information Panel
Based on the first frame of the job.
The header contains the job file name.
Job Information
Displays a text panel on the left hand side of the frame.
The panel can contain:
Customer Information: Customer ID, Street, City, Country, Zip/Postcode (each field up to 32 characters)
Job Production Data: Job ID, Part ID, Descriptive Name (each field up to 32 characters)
Custom Information: Up to 4 user-defined fields (each field up to 32 characters)
Logo: Optional image with a maximum size of 75 × 75 pixels
The image may be scaled, which can affect its aspect ratio.
Note: The field values are shared between Lead Out and Information Panel.
Displays a copy of the job preview information on the lower right side of the frame.
Includes a thumbnail image of the first frame of the job on the upper right side of the frame.
Note: The preview shows the Job Information frame.
Layers
Enable: When enabled, provides control over which layers in the job are ignored.
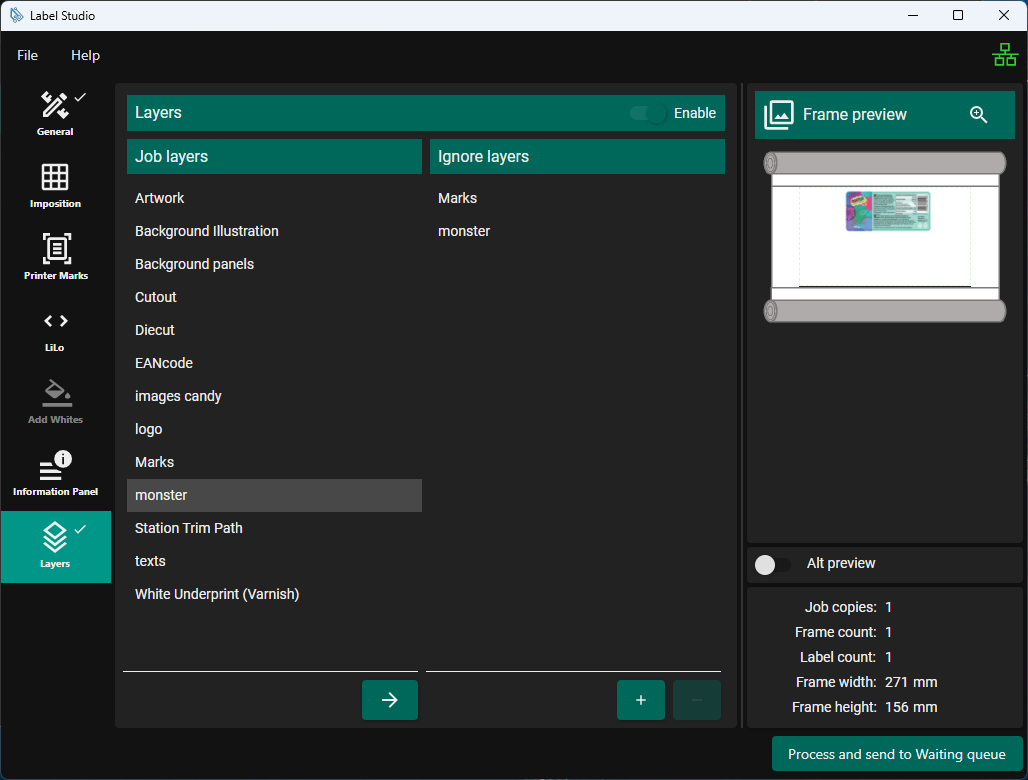
Job Layers: Displays all detected layers in the job.
Copy (→): Copies selected layers from Job Layers into Ignore Layers.
Ignore Layers: Displays all layers that are to be marked as ignored.
Add (+): Manually add a layer name to Ignore Layers.
Remove (–): Remove selected layers from Ignore Layers.